A mind-boggling 314 bottles of nail polish live in my house. Somehow they just keep creeping in!
Showing posts with label OPI. Show all posts

Wednesday, November 30, 2011

My friend Rena's nails

Rena was my roommate sophomore year.

That was a very fun year.

Rena is amazing.

On an unrelated note, Rena lets me paint her nails for fun and practice!

This post is dedicated to Rena. :)

One day, Rena came over to watch TV and just hang out.  Unsurprisingly, I hijacked her hands and she let me go to town and paint whatever I wanted!  I gave her a blue ombre manicure, and I think it turned out very well! These shades transition very nicely together.

I used, left to right:
OPI What's with the cattitude?
OPI No room for the blues
OPI Suzi says Feng Shui
Barry M Cobalt Blue
Maybelline Denim Dash


The paler hand is mine. 


This manicure was definitely a success. It is simple ans subtle, but still striking and attention-catching.  In fact, Rena told me some of her male friends even commented on it! To me, that means it must be something really special, if they noticed it.

We had fun after this manicure!  The nail polish drying dance:


A few weeks later, Rena asked me to paint her nails with a running theme, since she is an avid runner.  She has a fantastic blog over at http://milehogger.blogspot.com/ and her posts are always so much fun to read! She makes me wish I could run.


On her thumb, a replica of her actual running shoe.


On her other fingers, from left to right, a gold medal (made with striping tape), her Garmin GPS, a galaxy nail (her choice), and her specific water bottle.  I'm sure she will remind me of all the acutal names for these things, because I forget them.  My brain is busy speaking polish-speak, about dupes and CPs and layering and holos... no room left for running vocab.


 The ring I love:


 Posing like a nail blogger:


 All ten nails:


So, Rena, when can I paint your nails again?

This has been a public service announcement, reminding all us polish-aholics to remember about all the potential nail art canvases on our friends hands! :)

Maria

Sunday, October 2, 2011

30 100 Follower Giveaway!

Hi everybody!!

First off, I guess I was feeling rebellious, because I painted my nails something not on the 30 day challenge list *gasp*.  These aren't super unique, but I really like how they turned out. And I've gotten a ton of compliments on them, which always tells me I did SOMETHING right :)

Monarch butterfly nails:

I used Essie Braziliant, an opaque bright orange with a pink flash, and OPI Pros and Bronze, a semi-sheer gold and pink duochrome (one of my favorite polishes by far!).  Note: Pros and Bronze looks surprisingly amazing over orang.  I will have to do this as a whole mani sometime.


I know my blog is still a baby, and I still have a lot to learn, but I am super excited to have reached 30 followers!  So for you, my dear readers, I have a giveaway!

I found an entire mountain of boxes of On the Prowl at a Wegman's near me, so I was able to buy multiple sets of On the Prowl and not feel guilty that I was depriving anybody.

The giveaway prize will be:

Fantasy Makers Holo Glitter

picture in shade:


Picture in a little bit of sun, but unfortunately it is gray and rainy. In real life, this stuff has a very strong linear holo effect.


AND *drum roll* all eight of the much-sought-after On the Prowl collection!!

It's a good thing you all know what these look like, because this is officially the worst picture ever taken of this collection:


From left to right: Behind Closed Doors, Correction Tape, Ready to Pounce, Cougar Attack, Tangled in my Web, Buy Me a Drink, Inkwell, Jungle Fever


Oh, Tangled in my Web, where have you been all my life?! And you, Behind Closed Doors... <3


To enter, just fill out and submit the form below.  Since I'm going on vacation Oct 6-11, this giveaway will be open until midnight on October 11.  Open to all!


Happy October!

Maria


Tuesday, September 13, 2011

Day 13 - Animal print

Hi all!

So, I am still pretty bummed about my bad nail break yesterday. :( I took a little bit of length off the other nails, and I also tried out squaring them off a little bit.  I couldn't bring myself to file them all down to nubbins to match the broken one, even as much as I like symmetry.

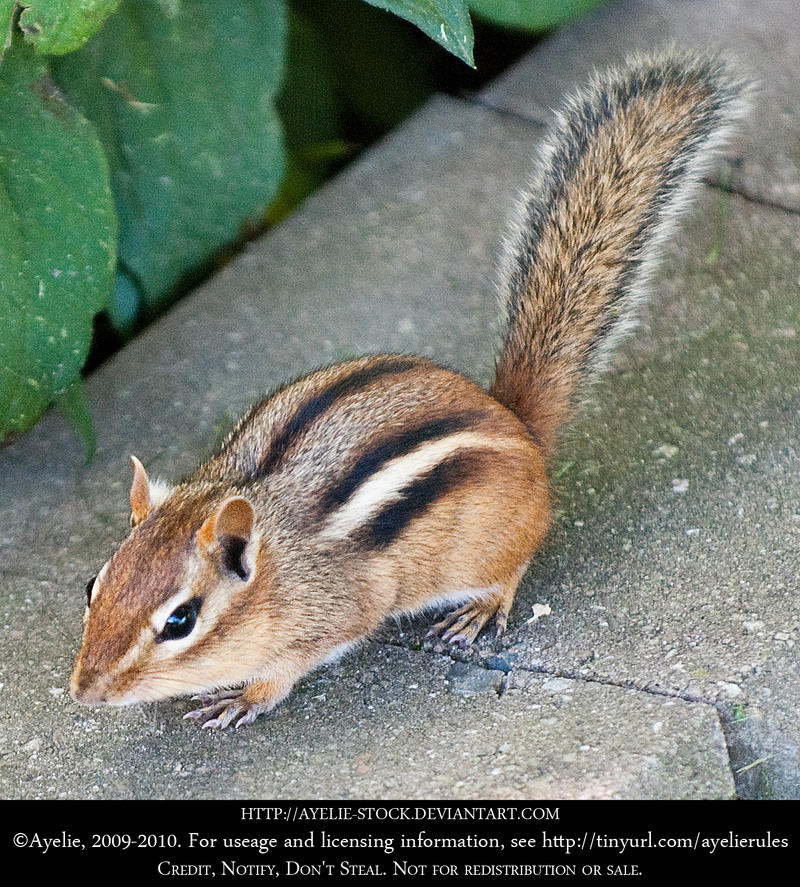
However! I do have some fantastic nail art for today!  Today was the animal print day in the challenge.  I've done a lot of zebra and tiger print, and just wasn't feeling leopard print... I wasn't sure what I was going to do, but then I was walking outside and a chipmunk crossed my path! I love chipmunks, I think they are so cute ^_^.  So in the spirit of woodland creatures (like my skunk mani the other day), I did chipmunk nails today!

These were my inspiration:


And here is the final product!


The rest of the post will be: which polishes I used; a sponging tutorial; and a chipmunk print tutorial.

For this mani I used my BRAND NEW, fresh off ebay, much anticipated OPI Ginger Bells.  Now, some nail enthusiasts call this a very ugly color, but I love it.  It is a rich brown-orange which looks just like pumpkin pie filling.  Unfortunately, i was so enthusiastic about this nail art, that I forgot to take a picture of just a Ginger Bells swatch. Woops.  

I also used Rimmel Grey Matter and Essie Case Study and black, white, and pink stripers for the art.


Now for the sponging.  I wanted to recreate the dappled back of a chipmunk, and I knew I couldn't do that with the normal paintbrushes I have.  

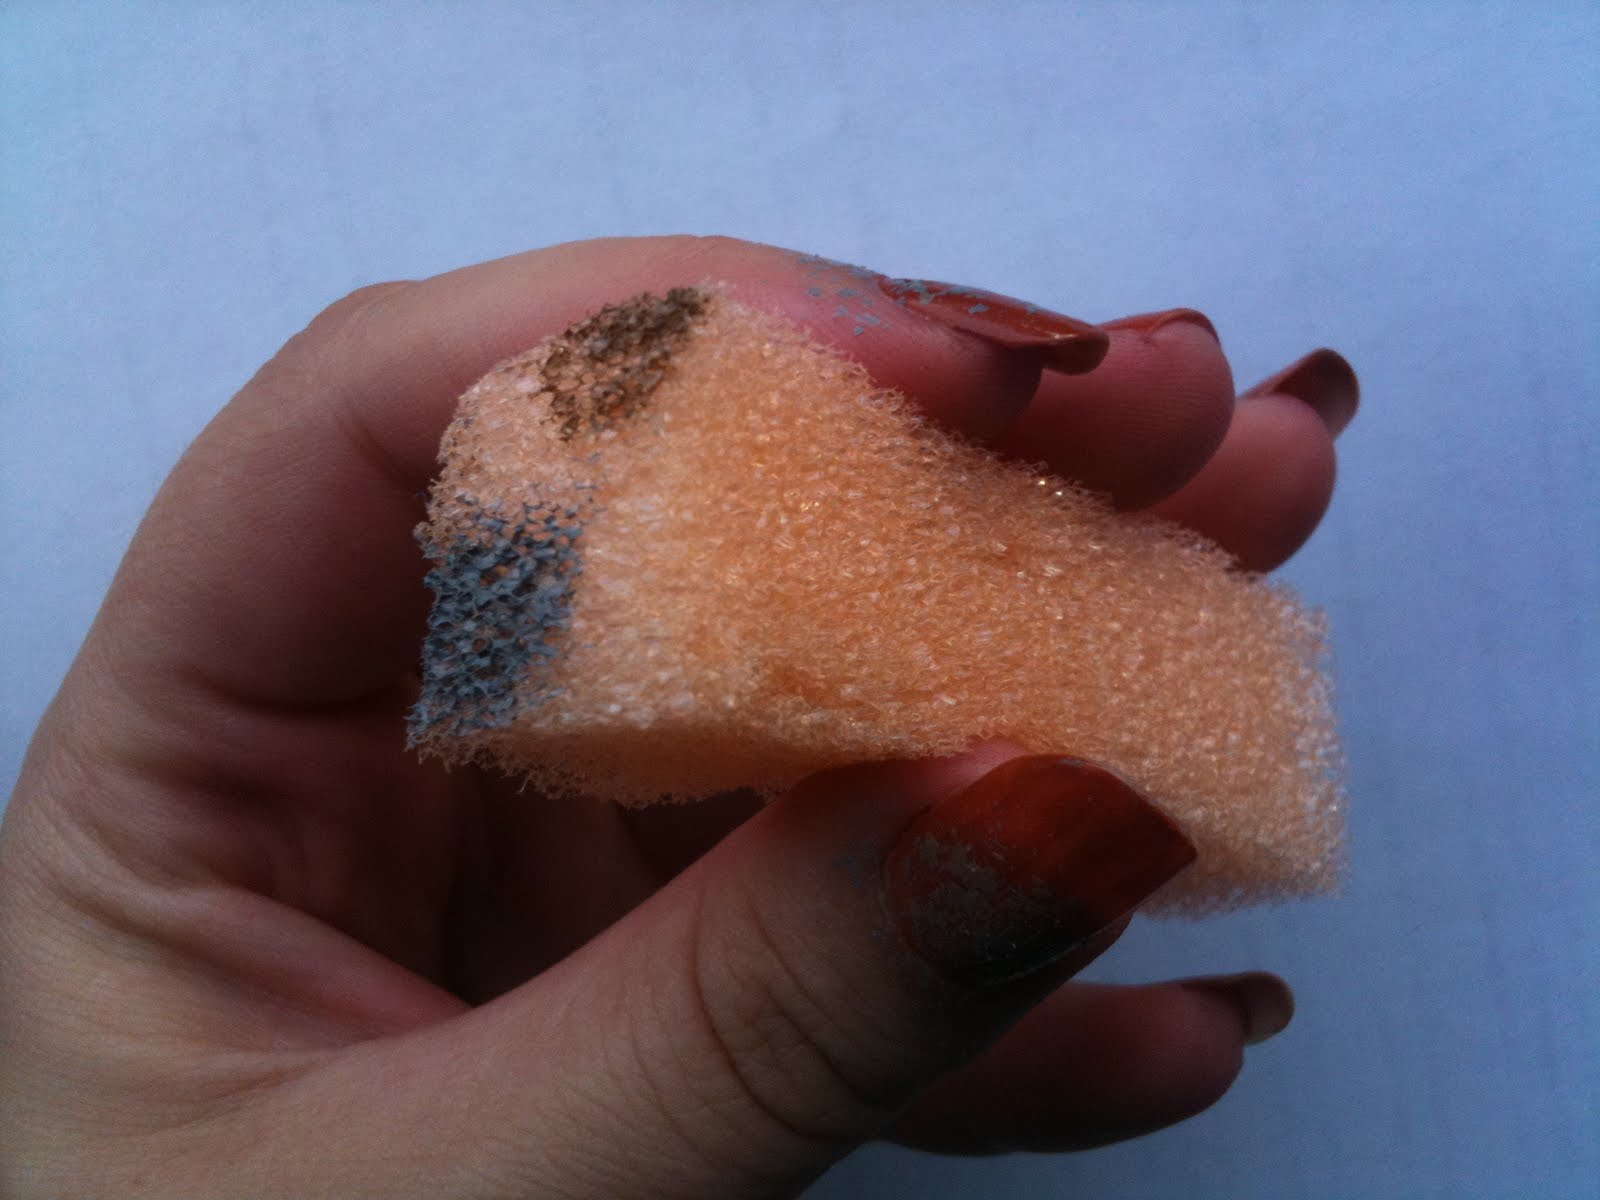
I have tried sponging in the past with those white cosmetic sponges, you know the ones, and I've never gotten the desired effect.  It was always too opaque.  I wanted a more sheer, speckle-y effect.  So from now on I use dollar store kitchen sponges!  I originally bought these for washing dishes, but when they were too flimsy, I switched back to the Target brand, haha.  These, however, turned out to be perfect for sponging polish on!  

Cheap-o flimsy foam sponges from the dollar store

Just cut a 1" or so wide strip off the sponge.  If yours are as cheap as mine, the rougher part will peel right off. 


Now use the smallest end for sponging; this way you can hold it kind of like a pen.  My method is to lightly paint a bit of the desired color on, and then sponge once on a paper towel to remove excess, then (with a light hand) sponge onto your nails.


Once you are done, you'll be left with a dirty sponge.  I imagine this would be a pain and a half to try and clean... and I bet acetone would just dissolve right through the cheap thing :P.  But never fear, there is an easy solution! This stuff is so light, you should be able to cut the very tip off with just normal scissors.


Voilà

It is ready for another ten-twenty uses... multiply that by about six more columns off the sponge... multiply that by six sponges (the amount that came in my pack, for $1)... and you can sponge and sponge all the gradients your heart could ever desire.

Onto the chipmunk pattern!  I started with a base of two coats of Ginger Bells. I would have used three if I was wearing it alone, but two coats was sufficient for my needs today.  Then I sponged on the Rimmel Grey Matter:  


This was me being random and heavy handed with the sponging; I've tried and you can easily create a smooth gradient too, if that is your desire.  This way I did it almost looks like a splatter mani!  Since the grey was kind of blue toned and I didn't love it yet, I sponged on some Essie Case Study, to soften it up, add depth, and make it more realistic and multidimensional like a true animal pattern.


Pretty!  Not by itself of course, but as a base for chipmunk fur, it is pretty.  After it dried, it was time for the black stripes first:


While those dried, I added the white on the accent nail, trying (and not succeeding very well on such a small nubbin *cry*) to copy the pattern on the chipmunk face.


While that dried, I switched back to the other four nails and added the white stripes.  Then I finished off the face with black eyes (made with a dotting tool that I pulled a bit to make it almond shaped instead of oval) and a pink nose.


Phew!  Next step: cleanup.  I've tried a lot of angle brushes, but the $2 maybelline brush from Big Lots is my absolute fave!! I've stocked up many backups, since the acetone is rough on them, but so far I'm still on my first one :)  Just dip it in pure acetone, wipe it on the edge of whatever container you are using (so you don't flood your cuticles with acetone and ruin the design!), and then clean up around the edges!  Easy peasy.  Don't forget to very frequently wipe the brush on a paper towel and re-dip in the acetone. 


Then some Seche Vite top coat, and it is done!


My final verdict? I LOVE the print I did on my four nails.  I absolutely do not love the face on my nubbin.  However, I was frustrated by its size... I think if I redid this on longer nails and spent more time on the face (smaller black stripes along the white ones and with a grey glint in the eyes) I might like it more? I'm not sure.  But I definitely am a fan of the chipmunk back pattern.  It it surprisingly subtle from far away, but sophisticated looking.

Whew! Long post.  But it wasn't a very long mani.  Took me about 45 minutes, since sponging and striping don't take me very long at all.

So, what do you think??  Would you do this pattern?

Was the sponging tutorial helpful?

'Til next time,

Maria


Monday, September 12, 2011

Day 12 - Stripes

Hello x2!

As you saw in my last post an hour ago, I am currently in emergency nail repair mode, and therefore unable to post the normally scheduled stripes manicure for today, as the challenge calls for.  I will instead post a cute little striped mani that I did over the summer.  Again, don't blame the pictures too much, these were never intended for a blog audience.  (That reminds me! I got my digital camera today! YAY! There shall be better pictures in the future!)

SOPI - Don't Feed the Hand Models
OPI - Funky Dunkey
OPI - Ogre-the-top Blue
... and some white polish that I don't remember...


First step:


Second step:


OH! And I also painted my friend's nails yesterday! (She chose the colors. Sally Hansen Royal Foil, Essie French Affair, and OPI Jade is the new Black)


Well, hopefully all these poorly lit, weird angled pictures are enough to distract you guys from the fact that I don't have a fresh new mani today! I'll be back up and running tomorrow, I promise.

Love y'all,
Maria

Saturday, September 10, 2011

Day 9 - Rainbow Nails

Me again :)

I was excited about this day in the challenge! Rainbow nails! I love bright colors on my nails so much. I've never been a big fan of nude colors, or black or white or vampy darks.  I wanted to do a skittle, but that wsn't interesting enough for me, so I broke it up a little.  I put the 6 rainbow colors on 5 nails, as if somebody *pushed* and all the colors slid a half nail to the right.

The colors I chose were:

OPI Comet Loves Cupid
Revlon Tangerine
Sally Hansen Mellow Yellow
Orly Fresh
Sinful Colors Paradise
Funky Fingers Riot

They were the closest I have to standard color wheel colors, and I think they all played very nicely together!  These are all richly pignmented colors and covered in one or two coats! ...Except my frenemy Mellow Yellow.  It applies horribly and streakily... but it is possible to build it up with four coats and end up with a fantastic sunny yellow color that always makes me smile.  Unfortunately, I got a bit impatient with it today and glopped it on pretty thickly, which made my ring finger lumpy. Woops.  Lesson learned.

Bottles:


And the whole mani, in indirect sunlight:


This one got me a few compliments, and I think I will recreate it again on a later day.  I used scotch tape to make the lines nice and straight, which worked nicely but I need to push it down a bit more near my cuticles.

Have a colorful day!

Maria