So, I am still pretty bummed about my bad nail break yesterday. :( I took a little bit of length off the other nails, and I also tried out squaring them off a little bit. I couldn't bring myself to file them all down to nubbins to match the broken one, even as much as I like symmetry.
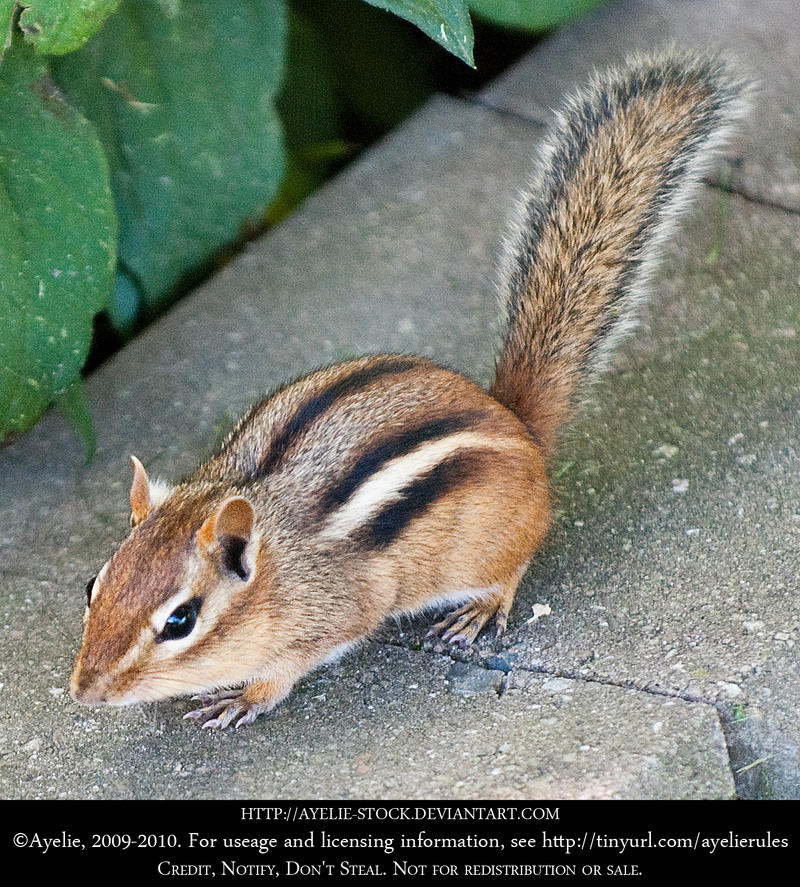
However! I do have some fantastic nail art for today! Today was the animal print day in the challenge. I've done a lot of zebra and tiger print, and just wasn't feeling leopard print... I wasn't sure what I was going to do, but then I was walking outside and a chipmunk crossed my path! I love chipmunks, I think they are so cute ^_^. So in the spirit of woodland creatures (like my skunk mani the other day), I did chipmunk nails today!
These were my inspiration:

And here is the final product!


The rest of the post will be: which polishes I used; a sponging tutorial; and a chipmunk print tutorial.
For this mani I used my BRAND NEW, fresh off ebay, much anticipated OPI Ginger Bells. Now, some nail enthusiasts call this a very ugly color, but I love it. It is a rich brown-orange which looks just like pumpkin pie filling. Unfortunately, i was so enthusiastic about this nail art, that I forgot to take a picture of just a Ginger Bells swatch. Woops.
I also used Rimmel Grey Matter and Essie Case Study and black, white, and pink stripers for the art.


Now for the sponging. I wanted to recreate the dappled back of a chipmunk, and I knew I couldn't do that with the normal paintbrushes I have.
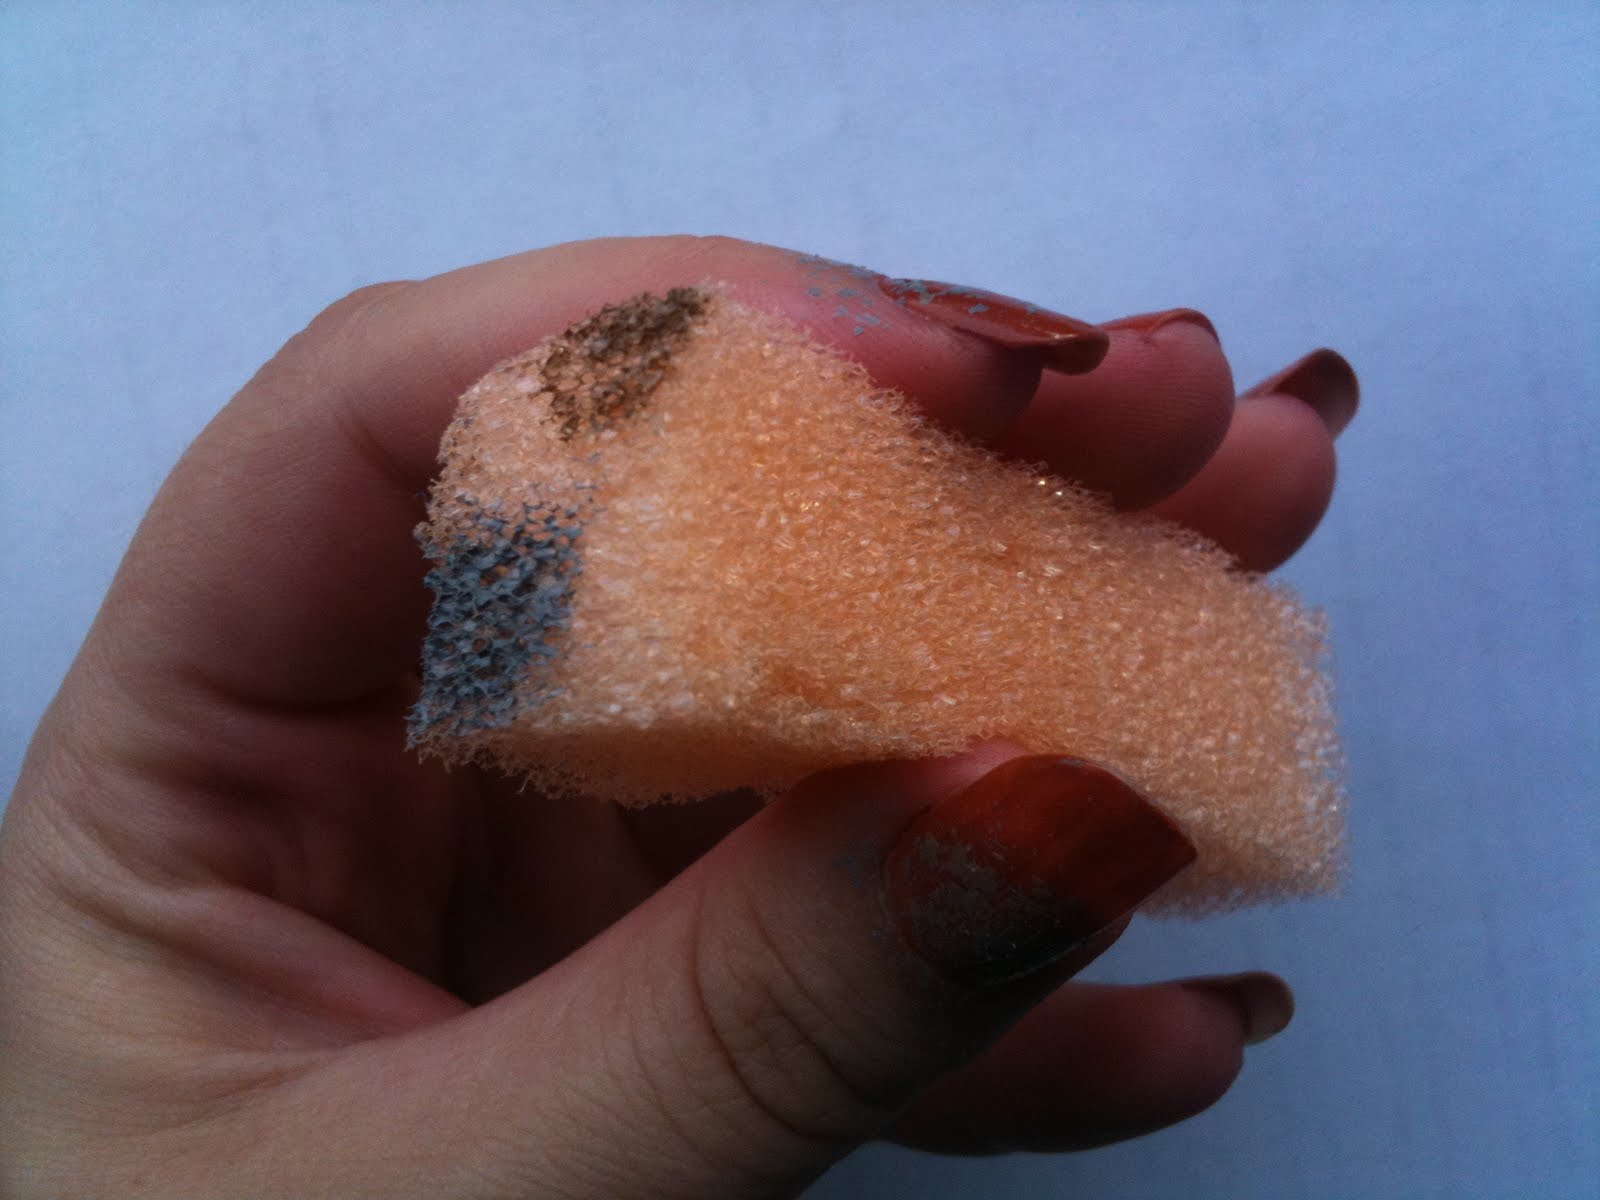
I have tried sponging in the past with those white cosmetic sponges, you know the ones, and I've never gotten the desired effect. It was always too opaque. I wanted a more sheer, speckle-y effect. So from now on I use dollar store kitchen sponges! I originally bought these for washing dishes, but when they were too flimsy, I switched back to the Target brand, haha. These, however, turned out to be perfect for sponging polish on!
 |
| Cheap-o flimsy foam sponges from the dollar store |
Just cut a 1" or so wide strip off the sponge. If yours are as cheap as mine, the rougher part will peel right off.

Now use the smallest end for sponging; this way you can hold it kind of like a pen. My method is to lightly paint a bit of the desired color on, and then sponge once on a paper towel to remove excess, then (with a light hand) sponge onto your nails.
Once you are done, you'll be left with a dirty sponge. I imagine this would be a pain and a half to try and clean... and I bet acetone would just dissolve right through the cheap thing :P. But never fear, there is an easy solution! This stuff is so light, you should be able to cut the very tip off with just normal scissors.

Voilà!
It is ready for another ten-twenty uses... multiply that by about six more columns off the sponge... multiply that by six sponges (the amount that came in my pack, for $1)... and you can sponge and sponge all the gradients your heart could ever desire.
Onto the chipmunk pattern! I started with a base of two coats of Ginger Bells. I would have used three if I was wearing it alone, but two coats was sufficient for my needs today. Then I sponged on the Rimmel Grey Matter:

This was me being random and heavy handed with the sponging; I've tried and you can easily create a smooth gradient too, if that is your desire. This way I did it almost looks like a splatter mani! Since the grey was kind of blue toned and I didn't love it yet, I sponged on some Essie Case Study, to soften it up, add depth, and make it more realistic and multidimensional like a true animal pattern.

Pretty! Not by itself of course, but as a base for chipmunk fur, it is pretty. After it dried, it was time for the black stripes first:

While those dried, I added the white on the accent nail, trying (and not succeeding very well on such a small nubbin *cry*) to copy the pattern on the chipmunk face.

While that dried, I switched back to the other four nails and added the white stripes. Then I finished off the face with black eyes (made with a dotting tool that I pulled a bit to make it almond shaped instead of oval) and a pink nose.

Phew! Next step: cleanup. I've tried a lot of angle brushes, but the $2 maybelline brush from Big Lots is my absolute fave!! I've stocked up many backups, since the acetone is rough on them, but so far I'm still on my first one :) Just dip it in pure acetone, wipe it on the edge of whatever container you are using (so you don't flood your cuticles with acetone and ruin the design!), and then clean up around the edges! Easy peasy. Don't forget to very frequently wipe the brush on a paper towel and re-dip in the acetone.

Then some Seche Vite top coat, and it is done!


My final verdict? I LOVE the print I did on my four nails. I absolutely do not love the face on my nubbin. However, I was frustrated by its size... I think if I redid this on longer nails and spent more time on the face (smaller black stripes along the white ones and with a grey glint in the eyes) I might like it more? I'm not sure. But I definitely am a fan of the chipmunk back pattern. It it surprisingly subtle from far away, but sophisticated looking.
Whew! Long post. But it wasn't a very long mani. Took me about 45 minutes, since sponging and striping don't take me very long at all.
So, what do you think?? Would you do this pattern?
Was the sponging tutorial helpful?
'Til next time,
Maria
Oh, my goodness. These are cute.
ReplyDeleteThis is so awesome. :)
ReplyDeleteThank you, both of you!
ReplyDeleteExcellent sponging tutorial! I really liked the splatter sponge look actually...could be a good idea for a full mani!
ReplyDeleteAlso, thankyou so much for telling me about my white print on the feed! I've changed my font colour to black, so fingers crossed it should work now! xx
p.s. Middle finger looks longer already! Is there anything more painful than growing out a broken nubbin?!
ReplyDeleteAwww, I've never seen chippie print before! This is adorable!
ReplyDeleteget as much information about him or her as you can. play bazaar
ReplyDeletesatta king
play bazaar